
Honda Helps: How to change a flat tire
We’re always talking about the amazing safety features of Honda vehicles, but there are some things that can’t be prevented. At Henley Honda, your safety is our number one priority, so we’ve decided to introduce a new blog series to teach you how to avoid accidents and handle emergency situations to keep you out of harm’s way. Check out our other Honda Help blogs on Tire Blowouts and Tire Tread Separates to help handle whatever the road throws your way.

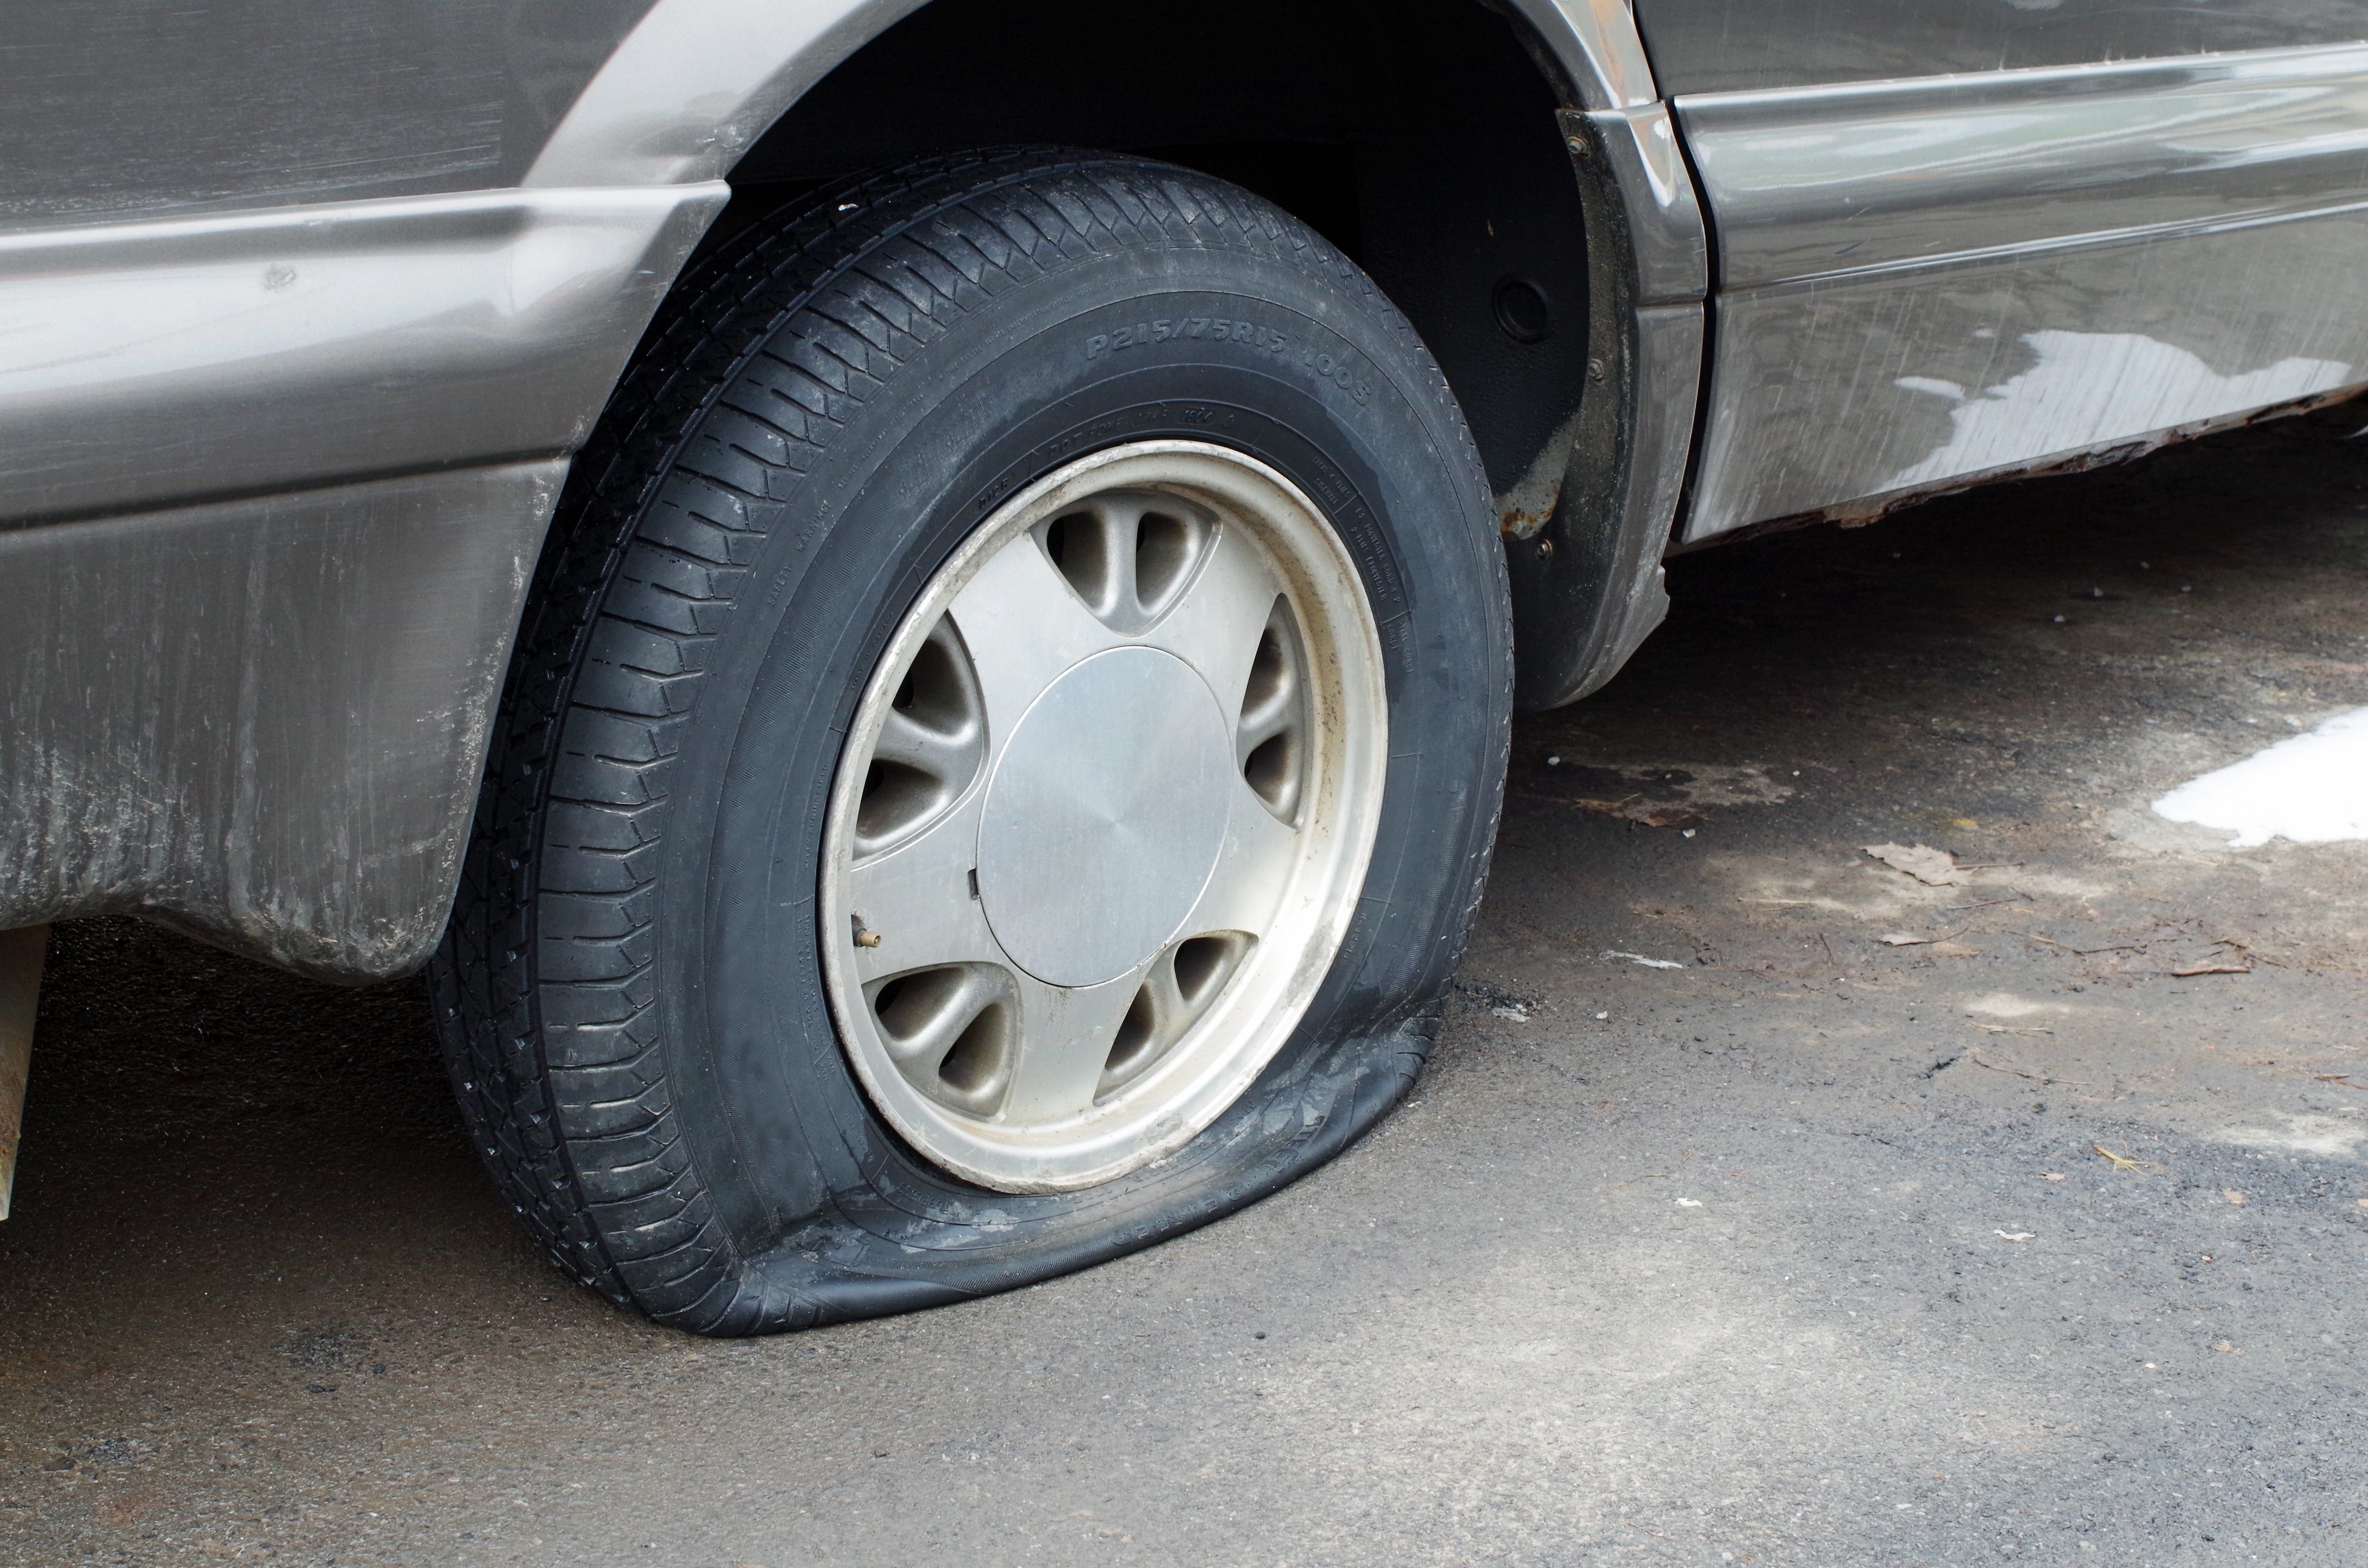
Today we’re talking: How to change a flat tire
Safety First:
To change a flat tire, park your car on a flat, stable surface. Avoid any soft ground or hills because a solid, level ground will keep your car from rolling. Remember, if you have to stop on a busy road or highway, park far away from traffic and use your hazard lights. If you have a reflective safety triangle in your emergency kit, put that out as well, especially in low-light or nighttime conditions.
Put your car into park and apply the parking brake (emergency brake). For standard transmission, put your car into first or reverse. If at all possible, put a heavy object (rock, spare tire, etc) in front of the front and rear tires to help reduce any chance of the car moving.
Remove the spare tire and jack:
The spare tire is usually located within the trunk space, under the floor or within the side panel; sometimes it is underneath the vehicle’s trunk area.
Place the jack under your vehicle’s frame near the tire you need to change:
For some vehicles, there is a small notch just behind the front wheel wells and in front of the rear ones that is intended for the jack. Make sure you are placing the jack in the correct location. If your car has plastic along the bottom it could crack when you start to lift your car. Check your owner’ manual for the correct location.
Raise the jack until it is firmly in place against the underside of the vehicle, but not lifiting it, ensuring that the jack is perpendicular to the ground.
Remove the hubcap/wheel cover:
Some hubcaps can simply be pried off with a flat head screwdriver. Others require you to remove the screws that hold it in; the tool to do so (usually a wrench) should be located with your spare tire tools.
Loosen the nuts by turning counterclockwise. Remember, you are only loosening the nuts, not removing them. You should loosen the nuts while the wheel is still on the ground because it ensures that you are actually turning the nuts, not the wheel. The cross wrench you will need is stored with your spare tire and the correct wrench end will slip over the nut easily and not rattle. It could take a lot of force to loosen your lug nut and if needed, use your body weight or stomp on the wrench, but always make sure you are turning it counterclockwise.
Use your jack to lift your car about 6 inches off the ground:
This ensures it is high enough to remove the flat tire and replace it with the spare. When you are lifting the car, ensure that it is stable and lifting straight up. If you notice any instability or it lifting at an angle, lower the jack and correct the problem.
Remove the nuts the rest of the way; they should be loose enough now that you can remove them by hand. Make sure you keep the nuts in a safe place so you don’t lose them.
Remove the flat tire by grasping it on both sides and pulling straight towards you:
As you pull it off, it should slide along the bolts until it is clear of the ends (you will be supporting its full weight yourself, so be prepared for it). If the flat is stuck, try hitting it on the outside half with the spare tire to loosen it. Either roll the flat out of your way, or place it under your vehicle (in case there is a jack failure).
Put the spare tire on, taking the time to align the holes before trying to lift it.
Replace the lug nuts:
Replace the lug nuts and tighten them by hand in a star pattern (across from one another), not in a circle. Use the wrench to make sure they are firmly in place, but not fully tightened. You will tighten them once your car is on the ground.
Slowly lower the vehicle:
Lower your vehicle so it is resting on the ground and use the wrench to tighten the nuts as much as possible. Ensure the car is fully lowered onto the ground and remove the jack. If you choose to do so, replace the hubcap by putting it into place, and hitting it with the cushion of your hand (don’t use a hammer or you may dent it).
Put the flat tire and tools away in your trunk, and try to go right to a mechanic to fix or replace your flat tire. Every spare tire has different recommended miles that you can travel with it on (usually around 50 miles), so check your owner’s manual for full details.
Remember, Henley Honda is here for you whenever you need us with Honda Plus Roadside Assistance.